
If you are looking for Shopify website builders, you’re obviously trying to…
Top 15 Shopify Apps Your Store Must Install For Efficiency
Let’s discuss the Shopify apps you should install on your store. There are many incredible Shopify Apps, and the Shopify App Store has grown and continues to grow.
New apps are always coming out, apps that do things better. You’ll find many free and paid Shopify apps.
But usually, the paid Shopify Apps are the ones that make you more profit and, of course, pay off themselves.
Visit the Shopify Apps Store. In this article, we’ll start with the following:
Table of Contents
Order lookup
We’ll start with the order lookup app, which allows you to install an order lookup on your store.
That’s fantastic because if you have your supplier ship the order or you like fulfillment centers, which we’ll look into, your customer can go to your website and obtain a tracking number. At the top, they’ll find an order lookup number.
Visit the Shopify Apps store, type in Order Lookup, and click on it. Order Lookup offers a 7-day free trial. Click on the add app button.
You want to click on the install Shopify app.
Click on Start a free trial. You now have an Order lookup installed; ensure you click.
Please verify my store, and the team will verify your store. Now, after that, you can proceed and add the app to your menu,
HelpCenter
But first, you want to continue adding apps you’ll need; thus, the next app you’ll need is the help center.
HelpCenter is a FAQ Shopify app that lets you have a nice-looking, frequently-asked questions section on your page.
Go to the app store, type in HelpCenter, and click install an app. The app allows you to create a nice-looking FAQ section.
If you want to look at your competition, go to their menu page. You’ll see that they have a questions and answers page.
This way, you can see all the questions, like all the frequently asked questions they usually get.
This is a fantastic insight because you already know the questions that you have to ask.
Now, you can have your answers to these questions.
For example, a question might be, “How does it work?“ To answer this, go to Edit FAQ and click on Add New Section.
At the Add, New Sections, put in questions and answers, click on Add section and Add New Article, and put in How does it work?
Then, you can put in the actual answers to the question.
In this case, How does it work? For example, you put in something like a Smooth Skin handset that uses Advanced IPL technology, then click Add article.
You’ll see how your store looks if you click on the preview page.
It looks pretty good, even just how you’ve installed it. Though there’s a room, you can make it look way better.
Loox-Photo Reviews
Loox Photo Reviews is another app that lets you post picture reviews on your page.
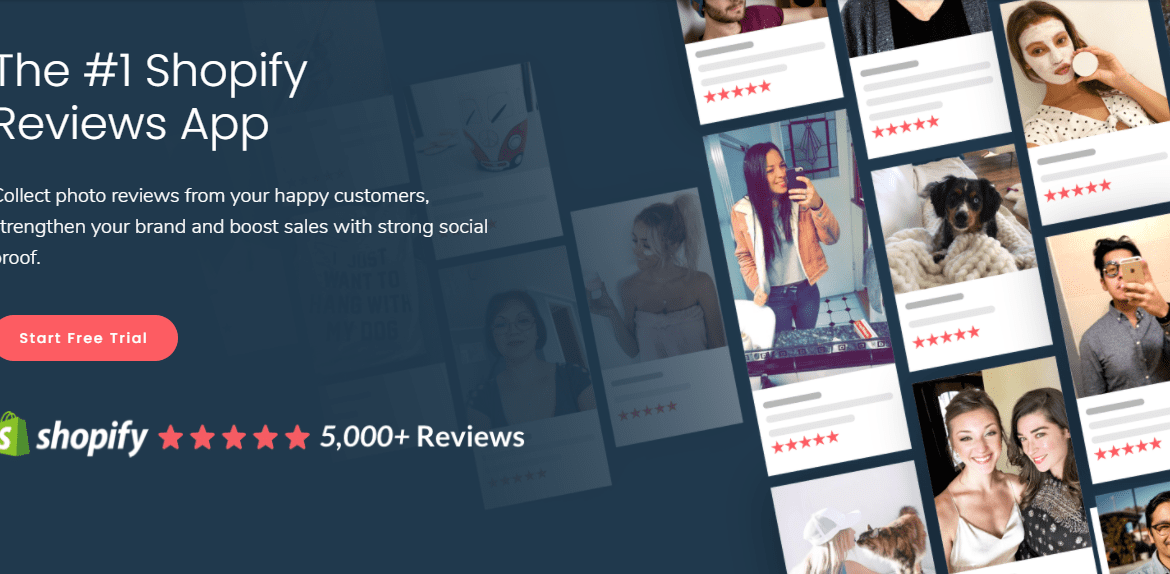
The app lets you write your reviews initially because you lack social proof.
Social proof is like other people posting reviews; customers post reviews on your product.
It makes it difficult to start selling initially, but with the Loox, you post your reviews.
You can download an Excel sheet and then fill in some reviews, perhaps from your previous customers or friends and family.
On the sheet, you can enter names and reviews. You can even write your review and then click Add app.
Loox will set you back ten bucks a month after the 14-day free trial. The app has plans to choose from, and for the moment, you can either do a Basic or Growth plan.
Start with Basic, then later upgrade it.
Go to settings on the Loox dashboard. Here, you can change many VARI settings, including the language.
You’ll find a review request email in the dashboard, but preferably, you have that as part of your email marketing and will talk about email marketing. Hang on.
This article will include a whole section on email marketing and how to set up the right email sequence to recover abandoned carts and automatically start getting reviews on your page.
On the app dashboard, you’ll see like orders.
You can import your reviews. I had alluded to this, so here are the instructions on importing from a spreadsheet if you don’t have any reviews yet and want to write your own to get things going.
SMS bump
Now, the next Shopify app you want to install is SMSbump. This incredible app lets you send automatic texts to potential customers.
Assuming that someone goes on your sales page and doesn’t buy, this shopify app will send them a text that says, ” Hey, ” and come back to the store to the page. Here’s a 20% off coupon.
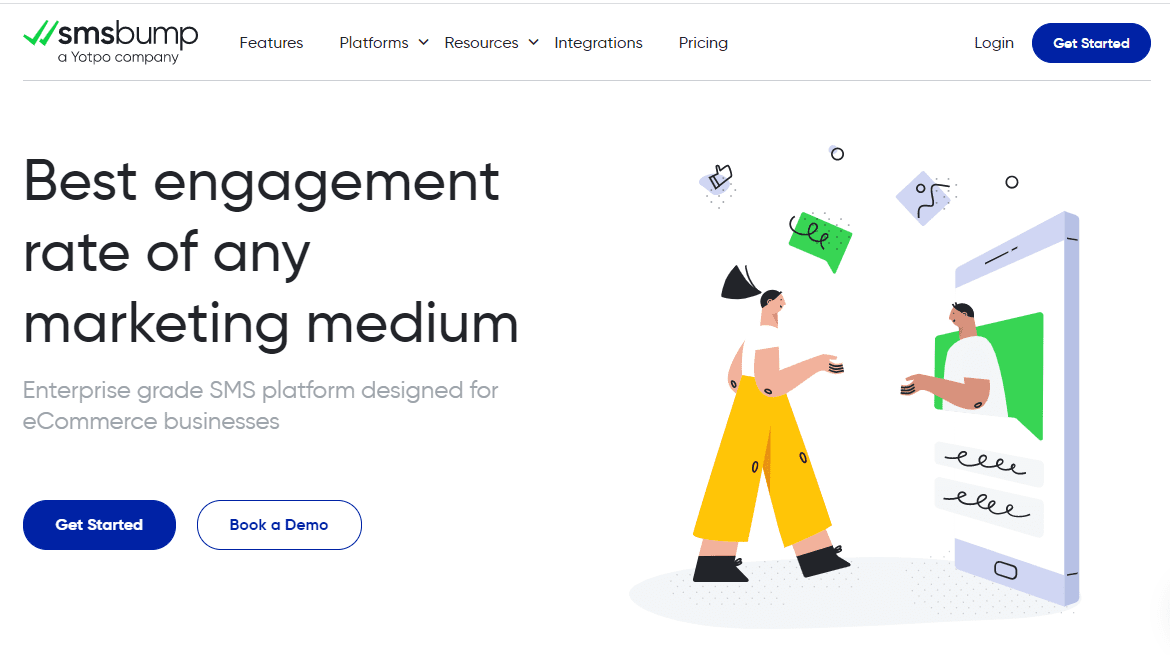
The app has worked insanely for me. I’ve had a quadrupled return on investment just using this Shopify app.
It’s a superb app. Once you’re in SMSbump, enter your phone number and email. If you do that, hit skip.
Later in this article, I’ll teach you how to set it up. Smsbump is a compelling app, and I recommend that you install it. With the app, you’ll generate many more sales and profit on autopilot.
The person who made Smsbump is but a genius because they’ve changed the Shopify game.
Klaviyo
Next, Klaviyo is the following app you’ll need to install. Klaviyo is your email marketing app.
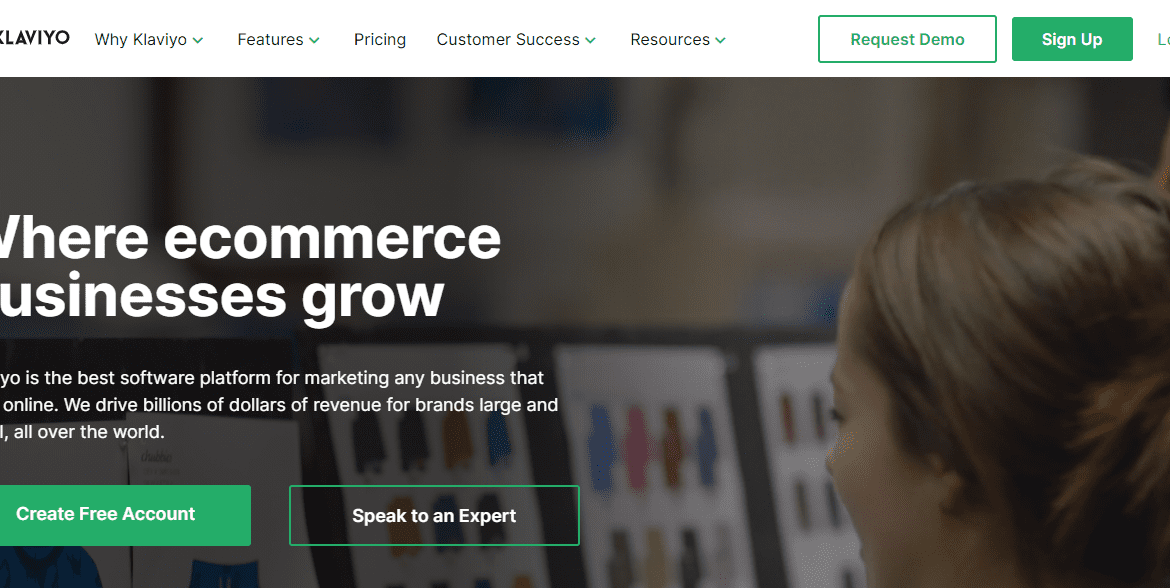
So, go to the app store and type in Klaviyo. You can use this email marketing app. If you go to the app, you’ll find that they also have monthly plans.
Click add an app. Klaviyo is free to install, but once you start doing volume with the app, they’ll charge you money.
Hopefully, you’ll make sales by then and not be solely charged for apps. Again, this article will include a whole section on email marketing.
Recart
Recart is among the other great apps you can check out. It is similar to SMSbump and the Klaviyo app for SMS and marketing, except that Recart supports FB marketing messenger.
As such, Recart allows you to set up sequences that target customers in their Facebook messages. Facebook messages are known to have higher open rates, which means people tend to look at them more than just email.
Imagine hitting prospects from Facebook Messenger, email, and SMS. That’s massive, and you’ll make so much more money using this app in conjunction with Klaviyo and SMSbump.
So, I’d recommend that you install Recart as well.
Go to the app store, type in Recart, and click Install. Ricard will ask you for your email. Ensure that you use your store email.
In this case, put smoothshavenow@gmail.com, CC somebody, and then place your phone number for the phone number.
You can connect to the Facebook page. But we’ll get into setting up your social media later, so hit skip.
Then, Recart offers you the opportunity to start things like customer chat, but we’ll also cover this later in this article.
So, skip to the dashboard.
On the dashboard, you can set up things like an abandoned cart sequence, which is fantastic. You can also set up a sequence with the Loox review app.
Picture this: a customer buys a product from your store, and then in their Facebook message, they get an automatic message from your page that says, “Hello, please leave us a review,“ etc.
There’s a much higher chance the clients will leave you a review. The more reviews you get, the more social proof you’ll have, which translates to sales if you hit prospects from every angle.
Omnipresence is the linchpin to winning in the 21st century with eCommerce omnipresence with social media. Social media and eCommerce are the two immense forces in our time alongside the internet. And that’s why the app is enormous.
Zipify
Some other apps that you can try out include Zipify. There are two Zipify:
- Zipify Pages
- Zipify one-click upsell.
I’ve used Zipify pages, and they’re great. The Zipify pages let you set up a sales funnel for your page.
I wouldn’t say I like setting up funnels for the page. Frankly, you should have a clean product page.
Ensure that you make your product page super lovely. A sneak peek at your competition and how they’ve made their product page is handy.
There’s a high chance that you’ll find a competitor who does not use any funnels.
They probably have a product page with some beautiful pictures.
A scroll down, you’d see social proof; further down, you’ll probably bump into Loox.
This is another fantastic way to figure out your competitors’ exact apps, and this is gold like no one else will teach you this.
That’s why I’m so delighted here. So, right-click on the competition product page to view the page source.
Bold
If you click on the view page source, go to search, and type in apps, let’s say your competition has a currency app installed from Bold.
You can then go to the app store and search for Bold currency. You should be able to find it here: Bold multi-currency.
Bold multi-currency is a currency converter. It’s an automatic currency converter.
So, if someone comes from Australia, it will be in Canadian dollars. Some come from the US in US Dollars, and some from Europe in Euros.
I’d recommend installing Bold multi-currency.
If you intend to sell internationally, you can view your competition’s Shopify apps on the view page source.
Easy location
You’ll find that some of your competition also has an accessible location. So, go back to the app store, search for an easy location, and click on an accessible area. The Easy location is an automatic GeoIP redirect app.
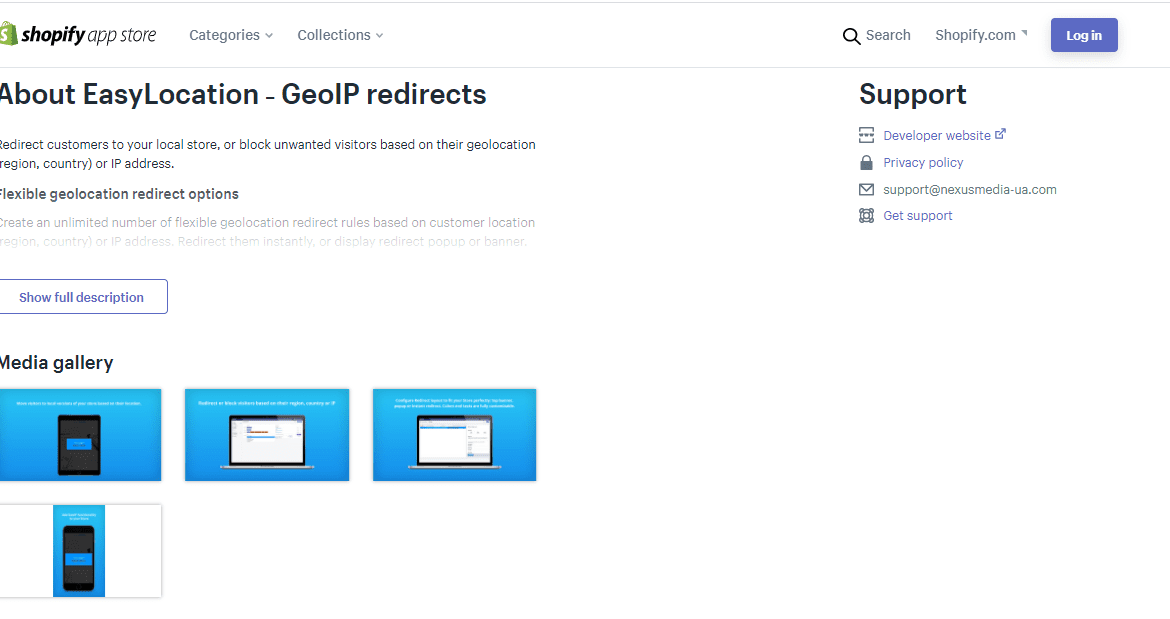
The app redirects the user to the appropriate store language on your page, which would be great.
For example, if you sell in Norway, Spain, and the US, and someone comes from Norway, and you have a Norwegian version of your store, the app redirects them to your store’s Norwegian (NO) page.
Discounted upsell
The hack is great. It lets you see all the apps your competition uses, although the hack can sometimes prove a little complex, like a lot of coding.
But if you scroll through the page source, you’ll see sections for your competitor’s different Shopify apps.
The hack is crazy; you can use it on all your competitors and get unique ideas.
By using this tact, you’ll find a discount Ninja. It’s a permanent discount Shopify app.
Suppose you search for a discount, Ninja. It’s an automatic discount app, and you can also use multiple coupons.
But I use a discounted upsell. I have vast experience using it, and it allows you to set up an automatic discount.
With the app, suppose someone buys two of your handsets. Then, they can get a deal for, let’s say, $439 instead of paying $450 or so.
Click on Discounted upsell, click Install, and return to your store. At this point, you have all that you want to be installed.
You can generate an auto upsell by searching for upsell products. If you have your product, hit continue to step 2.
To set up a discount, for example, Discount upsell asks Do you want to improve conversions by applying a discount?
We’ll talk about this later; meanwhile, hit save. Head back to the App Store.
But if you want to use the old way of copy-pasting products from AliExpress, then you’d need Oberlo.
Proceed to the app store. Search Oberlo and click on it to install It. Although this method is not branded drop shipping because you’re copying and pasting, and I hold, it doesn’t work well.
However, I’ll show you how if you want to do it. In that case, install Oberlo.
Pages
You’ll also have to add pages to point to your menu bars so that you can add pages for the following right here.
- Contact Us
- Money-back guarantee
- Reviews
- Shipping details
- Track Your Order
You can also see the handset; you already have a page for that—the product page.
Go to Online store, click on pages, click add page, then in the title field, put Review page, and a reviews page hit save.
You now do the same thing for your money-back guarantee. Again, you can probably check your competition.
You’ll find some introductory text for the money-back guarantee. Their page can read like a lifetime warranty. You can put Warranty+ Guarantee hit save.
Add the shipping details page. Again, you can look at your competitors’ order lookup pages, but you can rename this to Track your order.
For that, go to the online store, click pages, then add page, type in Track your order, and save
For the contact form, use a Shopify app called Easy Contact Form and proceed to install it. Don’t fuss about the free trial that you’ll pay for the apps because, after a few weeks, you ought to start selling your product and run some ads. So, don’t scratch your head about that.
You want to have an abundance mentality. When you start running those ads, you’ll still get those sales coming in, and those will pay off way more than your apps.
The Shopify apps are an inevitable expense, so click install an app.
And since you have the pages you need, you need to proceed with creating menu buttons.
Menu Buttons
All right, now you’ll need to add menu bars at the top of your page. Head to your website.
Your page looks very basic at this juncture —I mean, it’s plain. You also added a product page but don’t have anything up there.
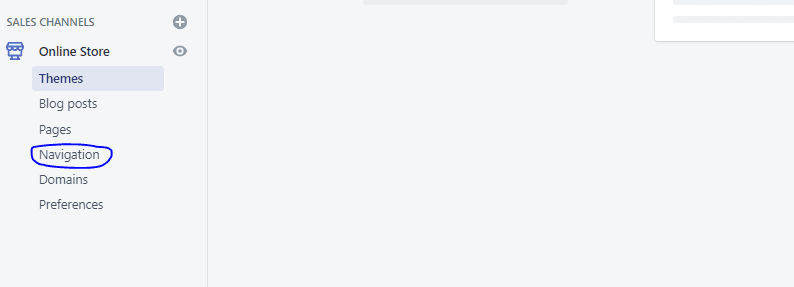
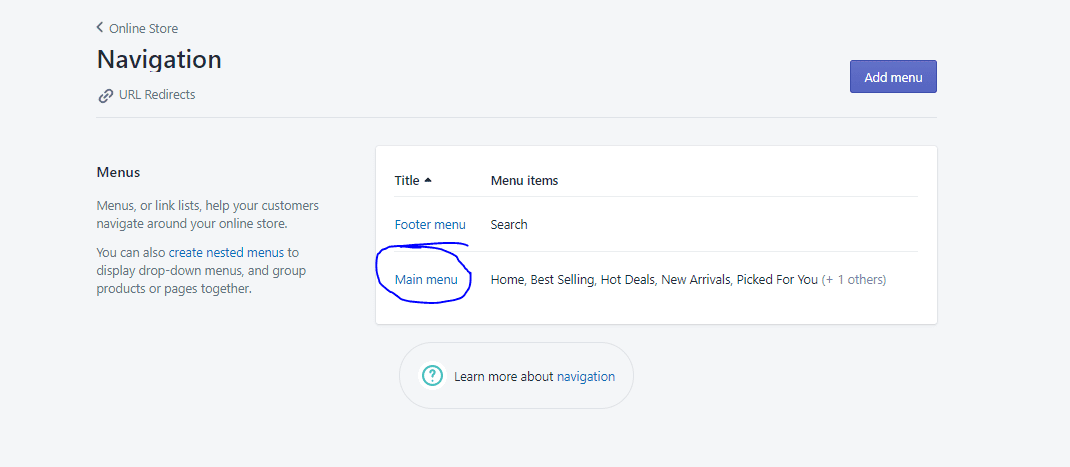
You have to add your menu bars. To do that, proceed to the online store, then to navigation, and click on the main menu.
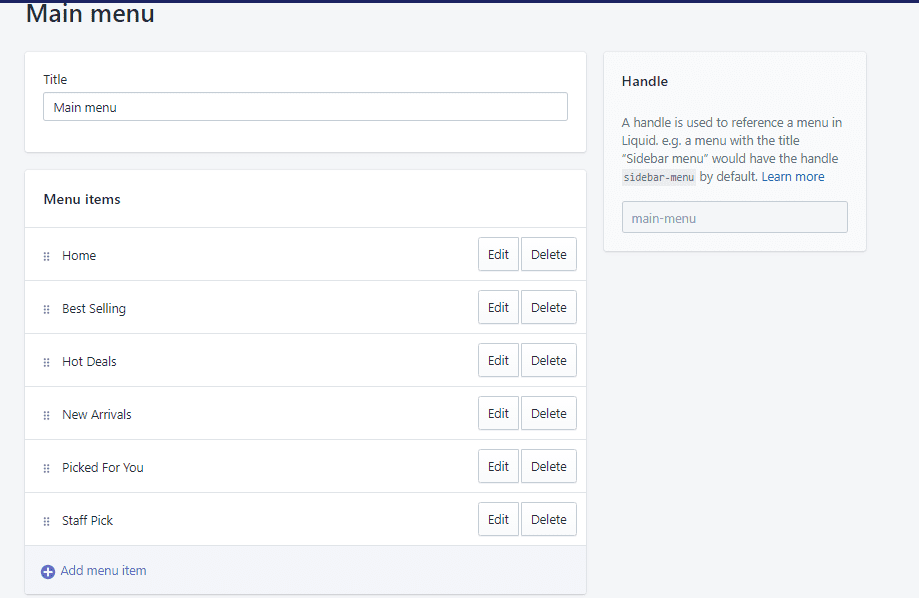
Then, go ahead and add your menu items. I’d also suggest that you look at your competitors and draw some inspiration from what kind of menu options they offer.
Remember, don’t copy; you can tweak things and come across as unique. It’s never about copying your competition. You need to add value to this article. We’ll make this quick.
You can start creating menu buttons by going to the online store’s navigation, clicking on the main menu, and then clicking on the Add menu item.
For menu items, you put, for example, the title field, Contact us, the link would be pages, then point to Contact us.
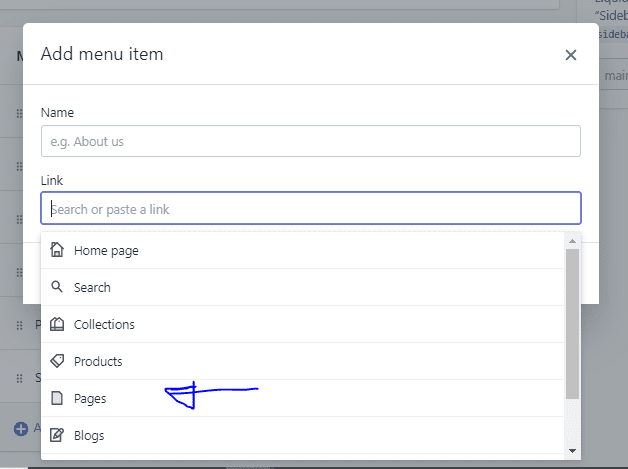
Continue. A menu item would be, for example, a handset and a link would be products. You point that handset to the product.
Another menu button would be like a lifetime warranty.
So for that, go to add menu items, for menu items, put life warranty for link pages point to Lifetime Warranty+Guarantee, then hit save for now.
That’s very simple, and Shopify makes it very simple, but Shopify is limited functionality-wise. You’ll discover that you can’t guarantee a perfect display of your pictures on mobile, and that’s where custom coding swings in, which we’ll also talk about here later on towards the end.
Now, if you go back to your page SmoothShavenow.com, you can see you have such menu buttons, and you can also change the order of the buttons.
Say you want a handset first and then a lifetime warranty. You hit save, and then if you go back, hit the refresh button, and refresh, you can see that now everything works fine.
You even have a review app at the bottom, although for now, you don’t have any reviews. Upon importing your reviews, you’ll see that they go down at the bottom.
All right, now that we’ve looked at the apps, we’ve talked about creating your Shopify store and its basic design, including the menu buttons.
You must follow along, as this article contains a lot of information that will undoubtedly change your life.
This is the new way of becoming successful at Shopify and eCommerce, cashing in on this incredible global trend.
Google domains
From this point on, it promises to get technical regarding the apps. There is a lot of technical stuff you’ll need to do.
Luckily for you, I’ll review every aspect and part of that.
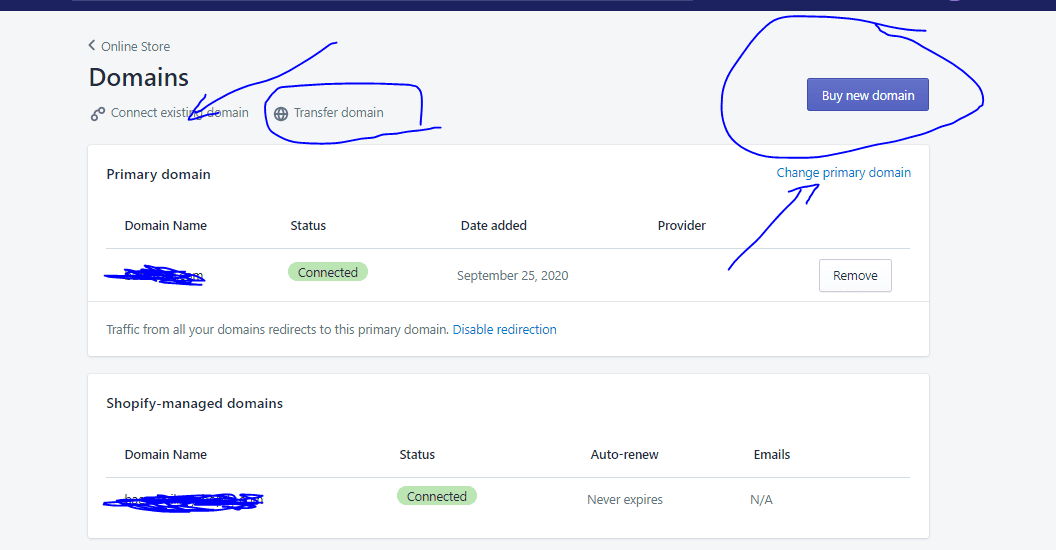
The first thing we’ll start with is the domain name.
Your store already has a domain, although when you create your Shopify store, it’s not going to be that way by default.
As such, you have to go to the online store and then domains. Once you go to domains, you connect your domain after you’ve purchased it.
To buy your domain, I recommend going to Google. Domains, and once you’re here, type in & search for like Dropshippingit.com. I’m sure you can see that Dropshippingit.com is taken,
You have to try a couple of domains and sometimes dig deep if a domain is taken.
For example, Dropshippingit.com. You can check it out and see who owns it, and sometimes, you’ll see taken domains for sale, and others not.
If it says on sale, maybe you can buy it, but it’s best if you don’t spend more than $20, $30, or $50 for a domain because you don’t need to.
Even though the .com domain is always the best, you can still get something like Dropshippingit. Store or barbecueproco.com.
Later on, once you have more money, get a more expensive domain if you want.
If you opt to use a service like GoDaddy, connecting your domains to Shopify makes it easy. If you go online, then domain, click on connect the existing domain, and you’ll discover—I assume yours is from GoDaddy here—that it’s straightforward.
You’ll have a way to like click-through buttons, and then GoDaddy automatically connects your domain to Shopify. If not, you’d have to go, and GoDaddy shows you a step-by-step guide on connecting your domain.
GoDaddy
GoDaddy is the other domain provider I recommend, as it’s also great. Although GoDaddy is a little lower upfront, you have to pay a little more after a year.
In the same way, you just go over to GoDaddy, type in the store name, and then hit search, and the provider will find domains for you.
Namecheap
Another domain provider that works is namecheap.com. You go to Namecheap. It’s great, and this provider is a little bit cheaper, I suppose, in the long run.
So, the three Google domains, GoDaddy and Namecheap, are terrific, and the rest of them, frankly speaking, I wouldn’t use anything else other than these. These more than suffice
Conclusion on Choosing Shopify Apps
If you have any questions about activating the right Shopify App for your store, don’t hesitate to leave a comment in the section below.
Start Shopify For Only
Try Shopify free for 3 days, no credit card is required. By entering your email, you agree to receive marketing emails from Shopify.
Related Posts
Comments (0)